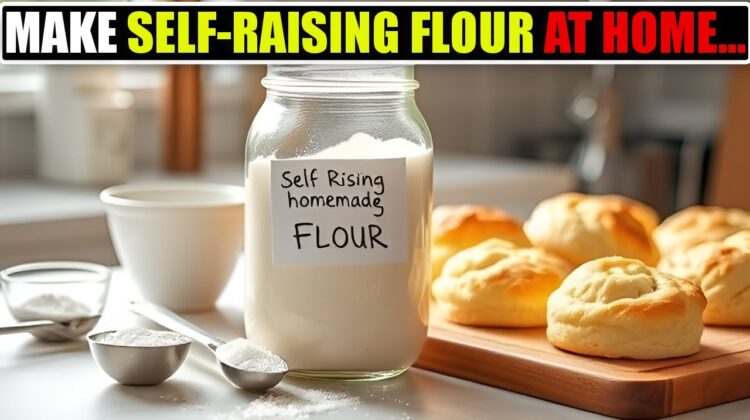
Have you ever found yourself in the middle of baking only to realize you’re out of self-raising flour? Don’t worry! You can make your own self-raising flour at home with just three basic ingredients. This simple, cost-effective method ensures your baked goods rise perfectly every time without the need for store-bought flour. Whether you’re baking cakes, biscuits, or scones, this DIY recipe is a game changer!
In this guide, we’ll walk you through:
✔️ The benefits of making self-raising flour at home
✔️ The exact ingredient ratios for perfect results
✔️ A step-by-step guide to making and storing it properly
✔️ Pro tips to ensure your baked goods turn out fluffy and delicious
Let’s get started!
Why Make Your Own Self-Raising Flour?
It is a must-have for many baking recipes, from soft cakes to buttery biscuits. But instead of running to the store when you run out, you can easily make it at home!
Benefits
✔️ Saves Money – No need to buy special flour when you can make it in minutes!
✔️ No Additives – Store-bought versions may contain preservatives, but this DIY method uses only natural ingredients.
✔️ Convenient – You’ll always have it on hand whenever you need it.
Ingredients
Making self-raising flour at home requires only three simple ingredients:
- 1 cup all-purpose flour – The base ingredient for the flour mix
- 1 ½ teaspoons baking powder – The leavening agent that helps baked goods rise
- ½ teaspoon salt – Enhances the flavor and balances the leavening
This combination ensures that your self-raising flour functions just like store-bought versions in recipes!
Step-by-Step Guide to Making Self-Raising Flour
1: Gather Your Ingredients
Measure out 1 cup of all-purpose flour, 1 ½ teaspoons of baking powder, and ½ teaspoon of salt.
2: Mix Thoroughly
To ensure the ingredients are evenly distributed:
✔️ Use a sifter – Sifting helps aerate the flour and prevents clumping.
✔️ Whisk if needed – If you don’t have a sifter, mix the ingredients well using a whisk or spoon.
3: Use or Store for Later
✔️ Use immediately in your recipe.
✔️ Store in an airtight container in a cool, dry place for up to a year.
DIY Self-Raising Flour
Equipment
- Measuring cups
- Measuring spoons
- Sifter or whisk
- Mixing bowl
- Airtight container for storage
Ingredients
- 1 cup all-purpose flour
- 1 ½ teaspoons baking powder
- ½ teaspoon salt
Instructions
- Measure Ingredients – In a mixing bowl, measure 1 cup of all-purpose flour, 1 ½ teaspoons of baking powder, and ½ teaspoon of salt.
- Mix Well – Sift the ingredients together to ensure even distribution. If you don’t have a sifter, whisk the ingredients thoroughly.
- Use Immediately or Store – Use your homemade self-raising flour in recipes or store it in an airtight container for up to a year.
Video
Notes
- If using gluten-free flour, choose a 1:1 substitute blend.
- Always check the freshness of your baking powder for the best results.
- Store in a cool, dry place to prevent moisture and clumping.
Nutrition (Per 1 Cup Serving)
- Calories: 455 kcal
- Carbohydrates: 95g
- Protein: 13g
- Fat: 1.2g
- Sodium: 1160mg (may vary based on salt used)
- Fiber: 3g
- Sugar: 0.3g
- Calcium: 350mg (from baking powder)
- Iron: 4mg
How to Use Self-Raising Flour
Now that you have homemade self-raising flour, you can use it in many baking recipes, including:
🍑 Peach Cobbler – Fluffy, golden topping for a classic dessert
🎂 Grandma’s Moist Cake – A light, airy cake that melts in your mouth
🥯 Cathead Biscuits – Southern-style biscuits that are soft and buttery
🍕 Two-Ingredient Pizza Dough – Quick and easy pizza base
🍗 Easy Beer Batter – Crispy, crunchy coating for fried foods
Pro Tips for Perfect Self-Raising Flour
✔️ Check Baking Powder Freshness – Old baking powder won’t give the best rise. If it’s expired, replace it!
✔️ Adjust Salt to Taste – Some recipes require less salt, so modify based on what you’re baking.
✔️ Double or Triple the Recipe – Make a larger batch to save time in future baking projects.
✔️ Store Properly – Keep in an airtight container away from heat and moisture.
FAQ – Frequently Asked Questions
1. Can I Use Whole Wheat Flour Instead of All-Purpose Flour?
Yes! You can substitute whole wheat flour, but the texture may be denser. Consider mixing it with all-purpose flour for a lighter result.
2. How Long Does it Last?
It can last up to 1 year if stored in an airtight container in a cool, dry place.
3. Can I Make Gluten-Free Self-Raising Flour?
Yes! Simply swap all-purpose flour with a gluten-free blend and follow the same measurements.
4. Can I Use Baking Soda Instead of Baking Powder?
No, baking soda requires an acid to activate, while baking powder already contains an acid. Stick to baking powder for the best results.
Now that you know how to make self-raising flour at home, you’ll never have to worry about running out again! This simple, three-ingredient substitute works just like store-bought flour and guarantees light, fluffy baked goods every time.
📌 Tried this recipe? Let us know in the comments how it worked for you!
📢 Love this baking hack? Share it with your friends and family on social media!
Happy Baking! 🎂🍞
You may also like, Chicken Biryani Recipe.
Leave a Reply